
When Reporting A Maintenance Request...
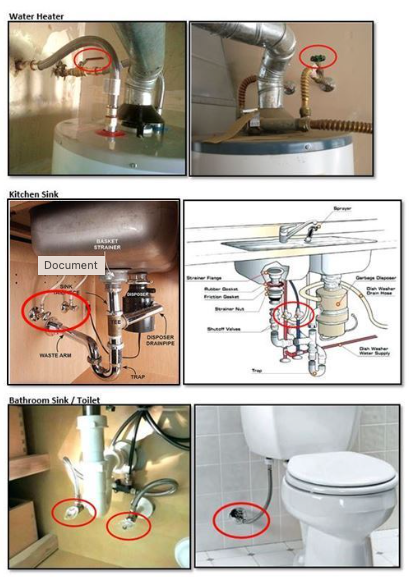
You must submit a work order on your tenant portal and be as detailed as possible with regards to what is wrong, the location of the issue, photos, etc. Your contact info and work order will be forward to vendors. Tenants are responsible for normal household maintenance see below. Staff will respond after you submit a work order and try to help you solve the problem without having to dispatch vendors who charge over $100 per hour. Repair charges will be allocated per the lease. “ Landlord repair vs tenant repair '' see your lease in portal documents for who pays for what, terms vary based on lease type. Residential vs commercial. See below for quick fixes and what is normally a tenant charge. Shutoff all water, gas & power to stop further damage to the vendor's arrival! (Water, Gas, & electric Shutoff Video) and (Water Shutoff Video). If you can’t get off and major emergency see 24 Hr utility shut off number page.
- If your utilities do not work, did you pay the bill, check your breakers and/or valves?
- If the hair dryer, toaster doesn’t work, did you reset the GFI push breakers?
- If the hot water or the HVAC doesn't work, please check the breakers on both the electrical box AND the unit itself and confirm it isn't just tripped. For Gas hot water and HVAC is the gas on in your name?
- If there's an HVAC report for it not functioning properly, Is it completely non-functioning? Please describe the nature of the issue in detail.
- If there is a leak did you shut off all the valves to stop it? Call 24 hrUtilities if major?
- If there is a leak is there damage in addition to the leak that needs to be repaired (i.e. walls, flooring, apartment below you)?
- Do you own the leaking window AC and or the washing machine?
- Did you try plunging the toilet? Hair remover sink drains?
- If there's a sewage backup, is it coming up through the tub/shower drains? Has it overflowed onto the floor/carpet?
- If a hot water heater is leaking, do you currently have hot water and is there any damage?
BEFORE submitting a request, please review the troubleshooting guide below to see if there is a simple fix to your issue that can be easily remediated.
MAINTENANCE TROUBLESHOOTING GUIDE
Simple Solutions To Common Maintenance Concerns
While we will always do what is necessary to take care of the home, tenants also have a responsibility to mitigate/reduce repair expenses by checking on some of the simpler items yourselves. Below are some simple solutions for the most commonly reported maintenance issues. It may be possible to find an easy fix for the issue without having to wait for a maintenance person to visit.

Seeing Ants / Roaches / Spiders or Other Pests
How to Kill Bugs with Boric Acid Video
- Per your rental agreement, treatment of household pests is the Tenant's responsibility. One way to minimize the possibility of pests is to keep a tidy home. Homes that are not so tidy, offer a food source as well as shelter for many pests. So if you discover any pests, your first step would be to do a thorough cleaning of the entire home. This eliminates the food source.
- If the problem continues, most grocery or hardware stores carry traps and sprays that would resolve your problem in a few days. We find that ant traps can solve the problem in just a few days. These traps are filled with poisoned bait. The reason the ants are in your house is because they found food. The ant trap baits them, then they take the poisoned food back to the nest and they die. Some of the sprays like are very good for spiders, roaches, and bed bugs. If the problem continues, please feel free to contact us. We'll have to do an inspection to make sure that the home is tidy and see what remedies you have already tried and failed with. Please be VERY careful using poisons, bait traps, and sprays around pets and children.
No Hot Water or Hot Water is "TOO HOT"
- For no hot water, make sure gas service is on (for those who have gas hot water heaters). Check the thermostat on the hot water tank. Is the pilot light lit? Check the breaker panel or fuses. (See Circuit Breakers and GFI Outlets below)
- If hot water is "TOO HOT", check the thermostat on the tank and turn it down.
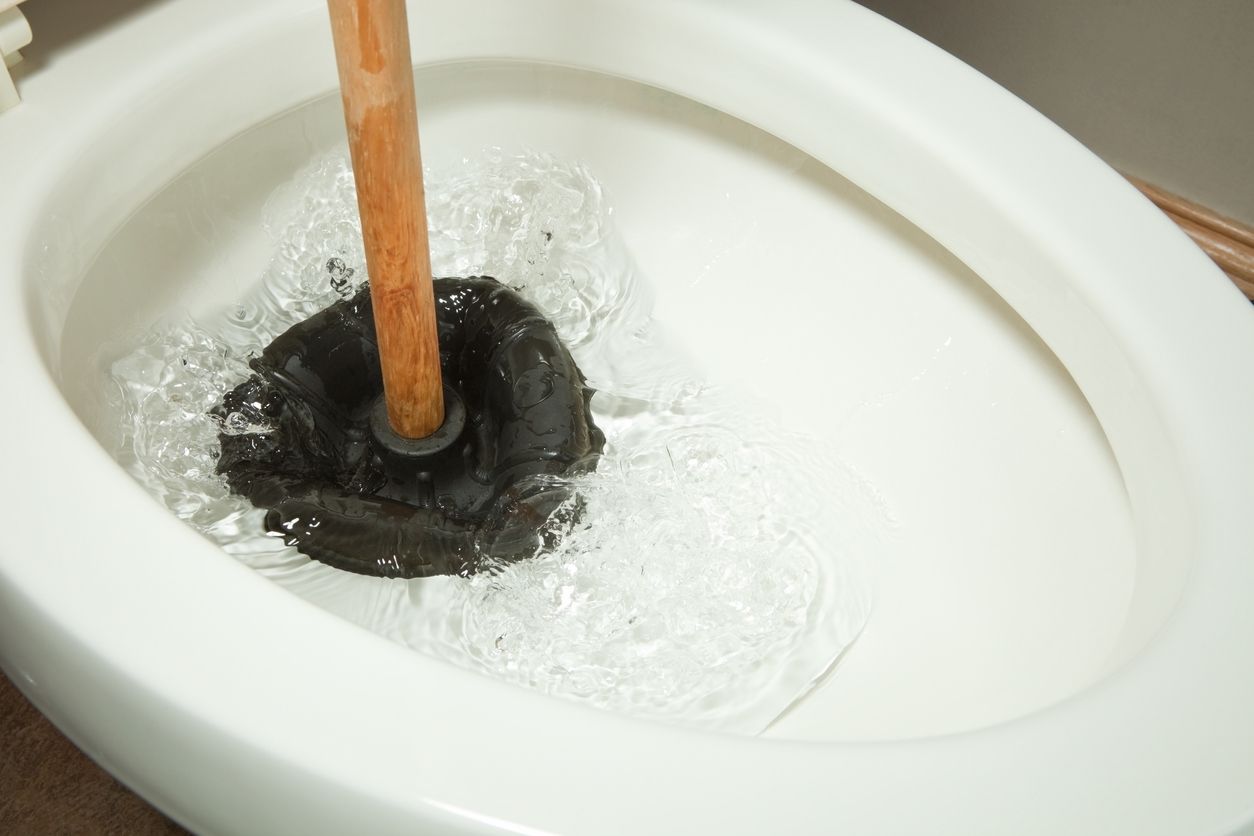
Clogged Toilet
How to Unclog Toilet DIY Video
- Try using a plunger.
- If still clogged, call maintenance. Note: if you caused the clog then you will be accountable for the bill.
How to Shut Off Water to Your Toilet In An Emergency
- Look for the valve which is located to the LEFT behind your toilet tank.
- Turn the knob to the RIGHT (clockwise) to close the valve and stop water flow.
How to Stop an Overflowing Toilet
- Remove the toilet tank lid. Lift up the fill valve (or float ball).
- Pull out the water tube. Reach down and turn OFF the water valve (turn valve CLOCKWISE)
How to Check Your Toilet for a Silent Leak
- Check for sounds of running water, trickling or hissing sounds.
- Add 25 drops of food coloring to the inside of the toilet tank. Wait 15 minutes...if no dye shows up in the toilet bowl, no leak exists. If dye appears in the bowl, the toilet needs repair. The $1.50 flapper needs to be replaced. “The culprit”. Please log a maintenance request through your tenant portal if replacing the flapper does not stop it from leaking..
10 Things to Never Flush Down the Toilet!
- Floss - not biodegradable.
- Grease, Oil & Fat - like heart disease, these will decrease the flow of pipes over time.
- Band-aids - these are plastic and not biodegradable.
- Medications - contaminates the water supply.
- Disposable Wipes - EVEN if they say you can, DON’T!
- Paper Towels - these do not break down like toilet paper.
- Feminine Hygiene Products - including cotton pads and swabs.
- Cat Litter.
- Condoms.
- Hair.
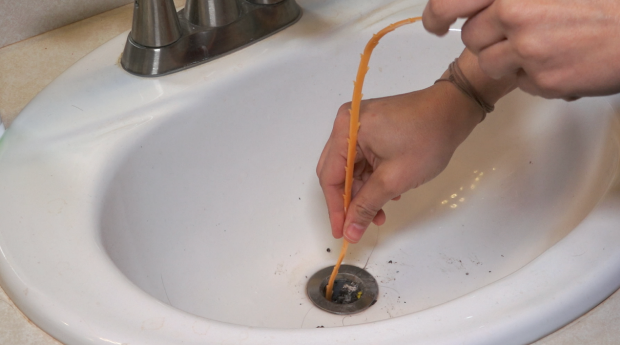
Clogged Sink, Tub or Shower
- Remove hair or obstruction from the drain.
- The best ways to unclog drains can be done with common household items, such as hot water, or a mixture of vinegar and baking soda. Pour a pot of boiling water down the drain, pour in 1/2 cup baking soda. Let it sit for a few minutes. Then pour a mixture of 1 cup white vinegar and 1 cup hot water and let it sit for 5-10 minutes. Flush one more time with a pot of boiling water.
- For clogged bathtub and shower drains - pour boiling water down the drain to unclog hair and soap build-up.
- You can also use a zip strip, which can be purchased at any home goods store.
- Use products like Drano as a last resort, as they are corrosive to older pipes with repeated use.
Note: If you caused the clog then you will be accountable for the bill.
How to Shut Off Water Supply to a Sink/Faucet
- Turn off water from the faucet if possible. Locate water lines below the sink which lead to water valves. Turn water valves to the RIGHT (clockwise) to stop the water flow.
NEVER Pour Grease Down the Drain
- Collect liquid grease to be recycled.
- Wipe pans clean with a paper towel.
- Rinse pans with cold water.
- Food scraps go in garbage, NOT down the sink
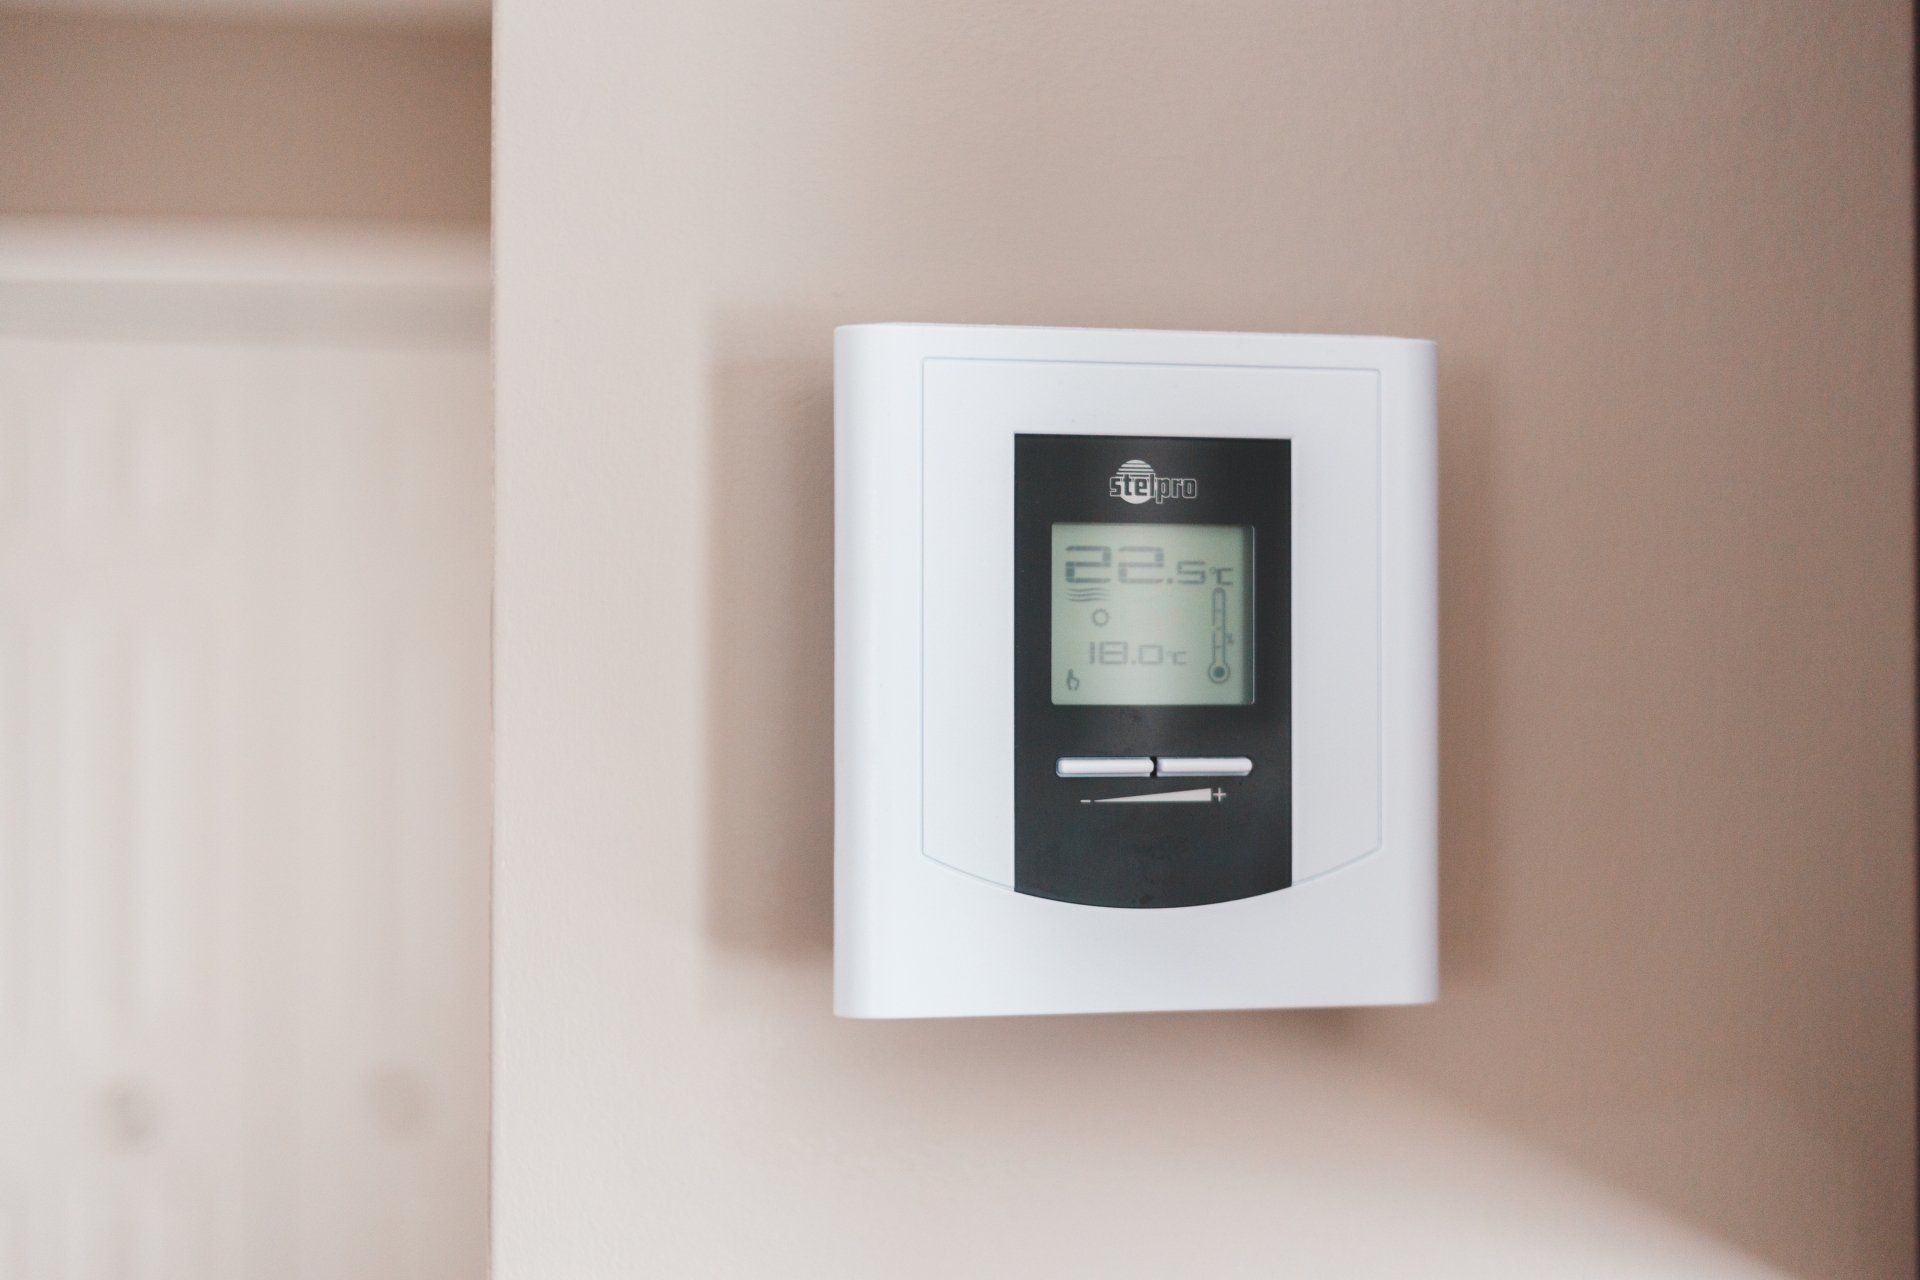
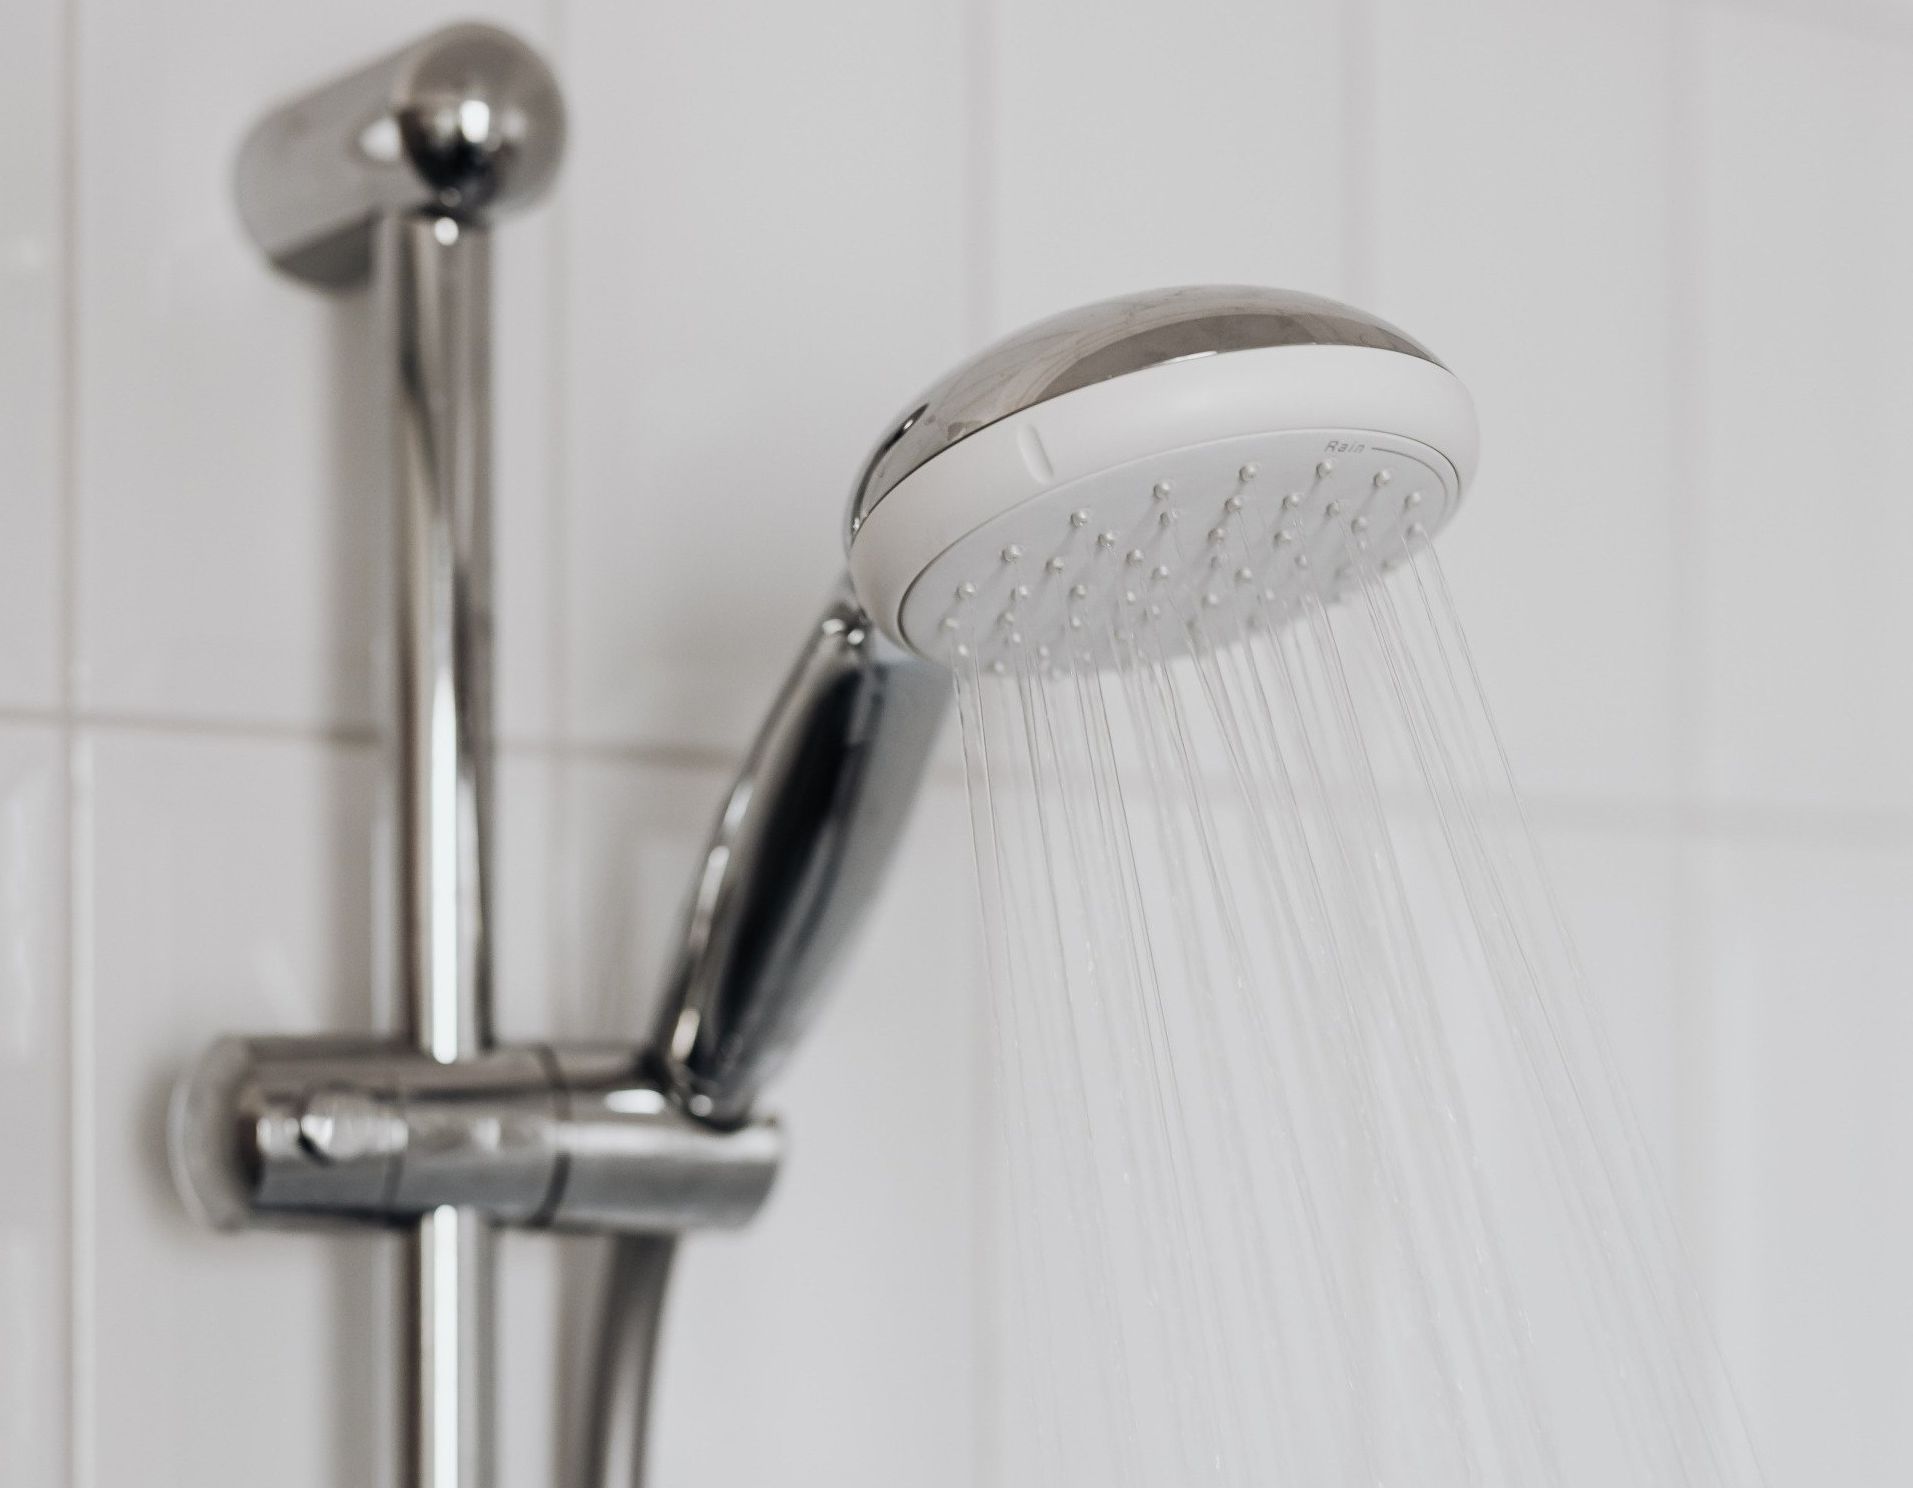
How to Fix Your Heat or AC
How To Three Most Common Things HVAC Video
- Check the filter! Change the filter often (at least every one- two months). 95% of all service calls are due to dirty air filters, and tenants are responsible for those costs.
- Make sure Gas service is on with the utility provider. (For those with gas furnace)
- Check your thermostat settings. Set the fan to "auto" and set the system to "cool" or “heat”
- Check the batteries in the thermostat. If there is anything indicating "Low Battery" on the thermostat, it needs to be replaced.
- Check the air handler/furnace - you should hear it "rumbling", if not, check to make sure it is plugged in and switched on.
- Check the circuit breaker - make sure it is not 'tripped'. (See Circuit Breakers & GFI Outlets Below)
- Check to be sure that the drain line is not clogged.
- Check the condensing unit outside - is the fan spinning and clear of debris?
- If the system is attempting to cool down, but it is one of the first times using the system this season, the AC temperature may be set too low. Set the thermostat to cool, but only set the temperature about 2 degrees cooler than the interior of the unit (example - if the temperature is reading at 80 degrees inside, set the thermostat to 78 degrees). Watch to see if the interior temperature decreases. If it goes down, try to turn it down another 2-4 degrees to see if it gradually decreases. Please be advised it could take up to 8 hours for the AC system to cool a 2 bedroom apartment down to the desired temperature.
How to Change an HVAC Filter
How To Replace Air Filter Video
- Locate the air-intake grill that holds the filter. Open grill, remove old filter. Replace with new one - IMPORTANT: air flow arrow on filter to point in the direction air is traveling (being "sucked" to).
- Check filters monthly. A good habit is to check the filter each month when making your rent payment. A clean filter will ensure your A/C is running smoothly and keep electric costs to a minimum.
Refrigerator Too Warm or Too Cold
- Check the thermostat, set correctly. Front and Back grills need to be clean and free from obstruction. Clean out the drain hole.
- Check the thermostat to make sure it hasn’t been turned way down by mistake.
- Be sure the vents on the back of the freezer compartment aren’t blocked by boxes of ice cream or frozen food packages-the vents have to be clear for cold air to circulate.
- Vacuum the coils under or behind the fridge. Clogged coils can cause poor cooling.
- Clean the seals around the refrigerator doors to keep cool air from escaping.
- Keep Fridge 2-5 inches away from the wall to help air flow to coils in the back of the fridge.

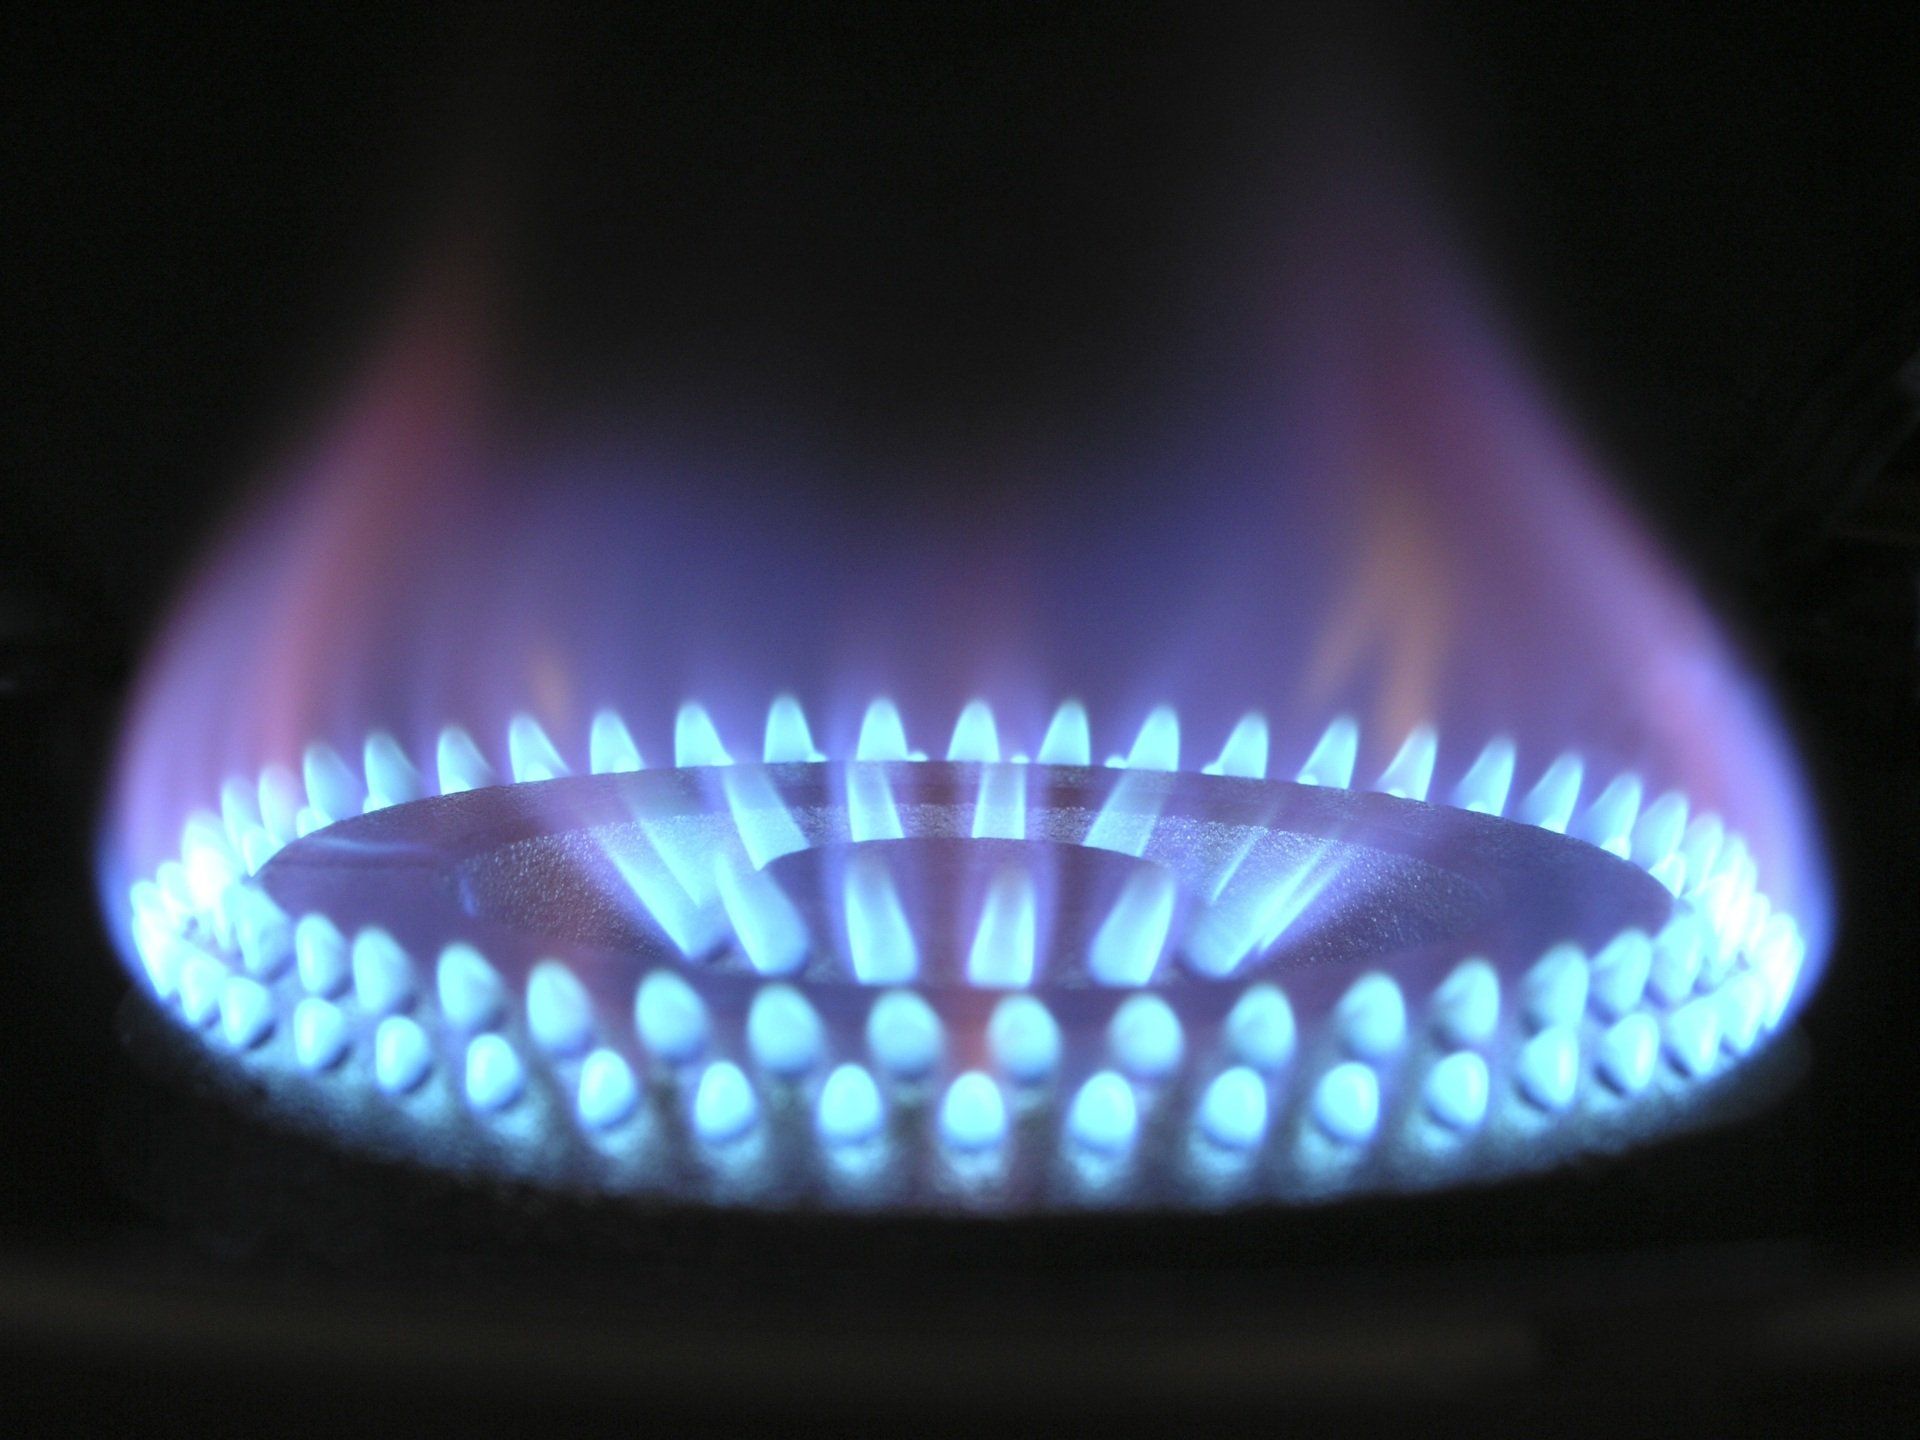
Gas Range "Clicking" and Won't Start?
- Wet burners are usually why a gas stove top will not light. When cleaning, avoid using too much water that will make the burners wet. Try to clean using a damp cloth only. Give it time to dry out (at least an hour).
What to do if you Smell Gas in the House
- Immediately leave the home and call Mountaineer Gas.
If safe to do so, proceed with the following:
- Turn off all electrical appliances.
- Don’t operate any electrical switches or create any flames - this includes flicking on a light switch. Make sure you’ve turned off the oven as well.
- Ventilate the property. Open windows and external doors immediately to allow the escape the premises.
- Turn gas off at shutoff or meter if safe to do so. To switch off the gas, locate the shutoff or meter and turn the lever so it's at 90 degrees to the gas pipe, closing the valve. We always suggest finding these important locations when first moving in.
- Wait for the all clear. If you’ve evacuated the premises, don’t let anyone other than the engineer back into the property. Wait to be given the all clear before going back inside. If you feel unwell, it's best to visit your health clinic or hospital. Let them know about the gas leak so they can treat you accordingly.
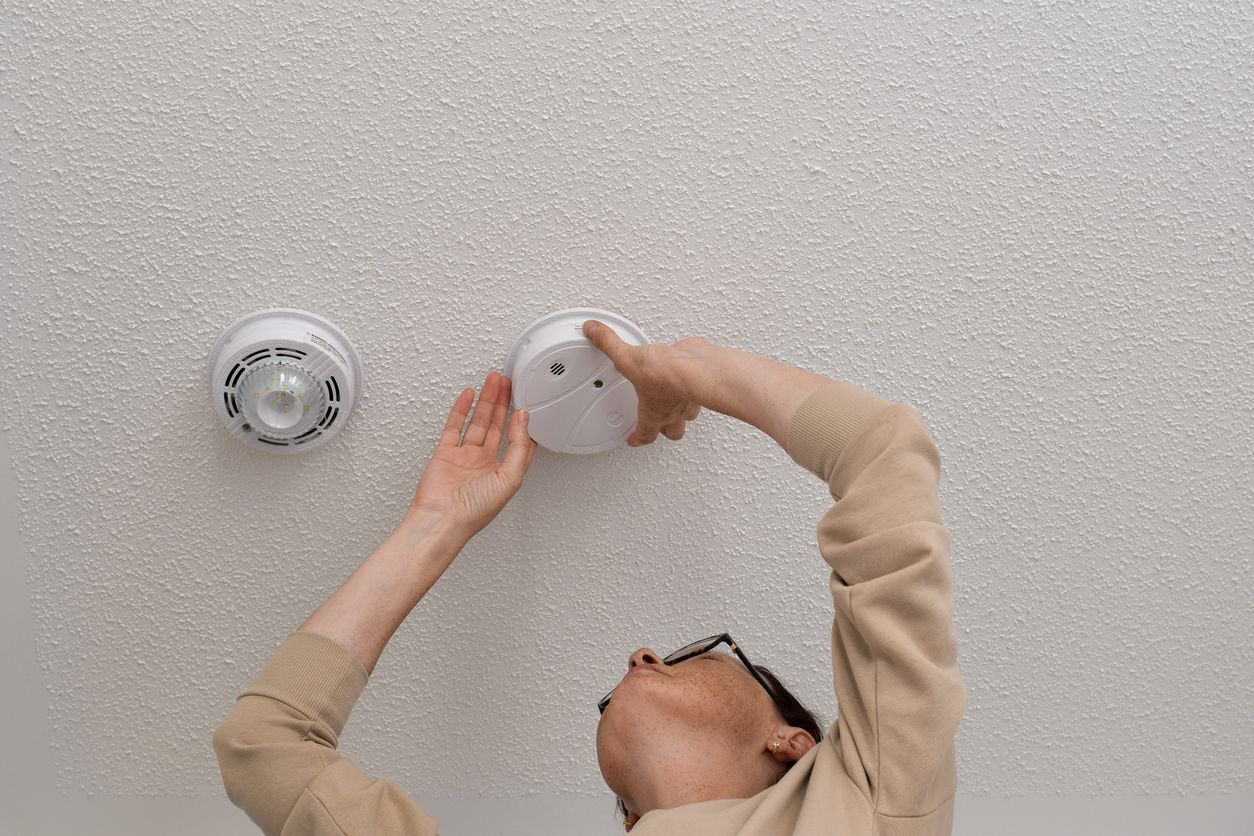
How to Stop the "Chirp" on a Smoke Detector
- Disconnect the smoke detector by twisting counter-clockwise. Replace the battery with a new one (this will most likely stop the chirping).
- If it is still chirping, remove the battery and hold down the test button for 15 seconds to drain any remaining charge. Insert the new battery and reattach to the wall/ceiling.
- If this doesn’t fix the problem, please contact us immediately via a maintenance request.
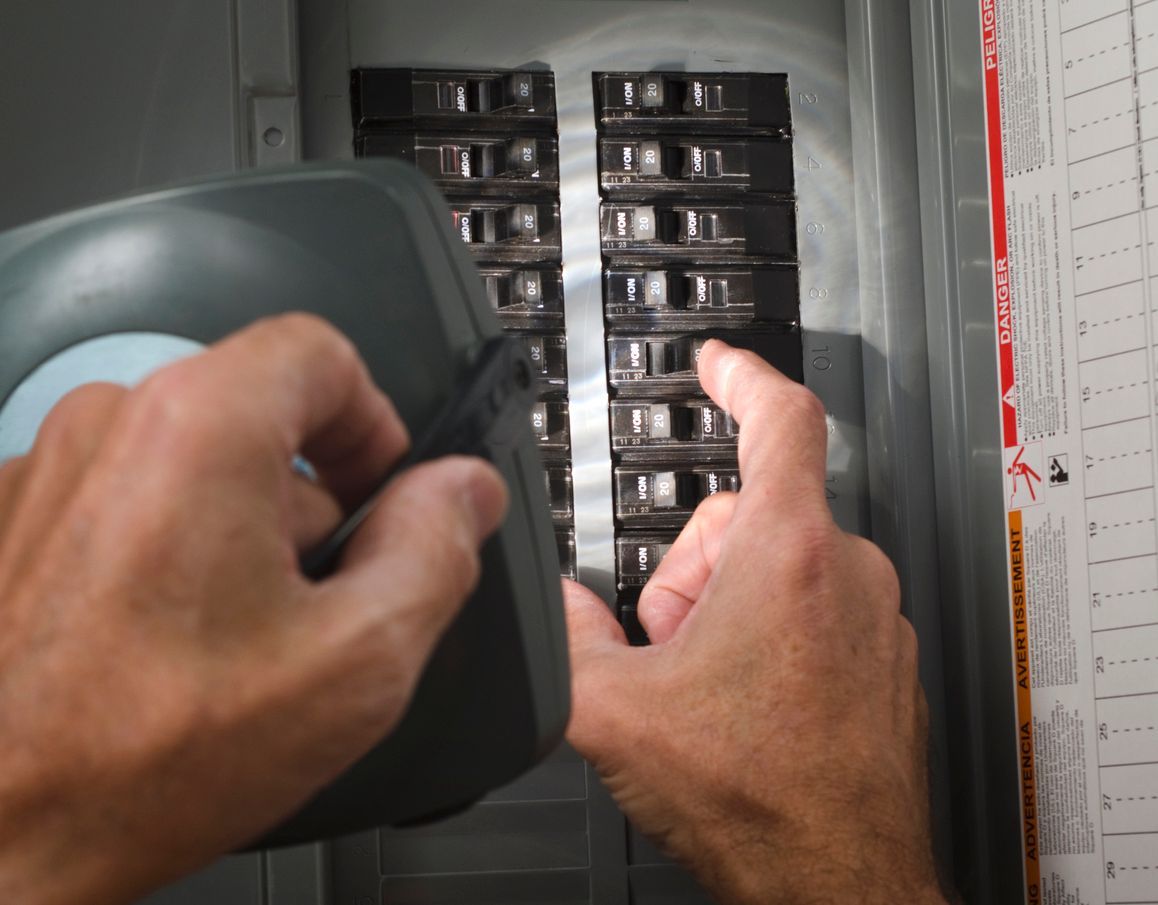
Circuit Breakers & GFI Outlets - Checking and Resetting
How to Reset Breaker DIY Video
- Some outlets are known as GFIs located near wet areas of your home (i.e. kitchen and bathrooms). When power becomes overloaded they will 'trip' (stop working). Press the reset button on them to power back on (usually a small button in the center of the outlet plate). Still not working? Check other GFI outlets in the home and reset. If that does not work, find the breaker panel and check for flipped switches. Flip back to "On" to restore power.
- A GFCI outlet may be wired in a branch circuit, which means other outlets and electrical devices may share the same circuit and breaker (or fuse). When a properly wired GFCI trips, the other devices down the line from it will also lose power. Note that devices on the circuit that come before the GFCI are not protected and are not affected when the GFCI is tripped. If you have an outlet that doesn't work, and the breaker is not tripped, look for a GFCI outlet which may have tripped. The non-working outlet may be down line from a GFCI outlet. Note that the affected outlets may not be located near the GFCI outlet, they may be several rooms away or even on a different floor. Pressing the "Reset" will restore the circuit. If the outlet doesn't reset, then whichever appliance that is causing it to trip, may still be plugged in. If after unplugging everything, checking the circuit breaker or fuse, and resetting the GFCI does not work, please submit a work order.
- A circuit breaker provides protection by stopping the flow of electricity if an overload or fault occurs. When an electrical fault occurs or the load on your circuit becomes too great, the breaker on that circuit trips and interrupts the flow of current to that circuit. A tripped circuit breaker is still sometimes referred to as a "blown fuse" in reference to the older technology that circuit breakers replaced. Before electricity can be restored, the circuit breaker must be reset. However, even before you do that, you must take steps to ensure that it is safe to do so. Turn off or unplug all of the devices that are plugged into the circuit. Make certain no dangerous condition exists before restoring power. A Circuit Breaker which has been tripped will either be in the middle or "OFF" position. Locate the tripped circuit breaker and reset it by pushing it all the way to the "OFF" position and then back to the "ON" position. Often when you cannot reset the circuit breaker, it is because it must be turned all the way to the "Off" position first. Electricity should now be restored to the circuit. If the circuit breaker trips again before you have turned anything on or plugged anything in, please submit a work order immediately. If no circuit breakers were tripped and you still do not have power at an outlet, the circuit is probably on a GFCI.
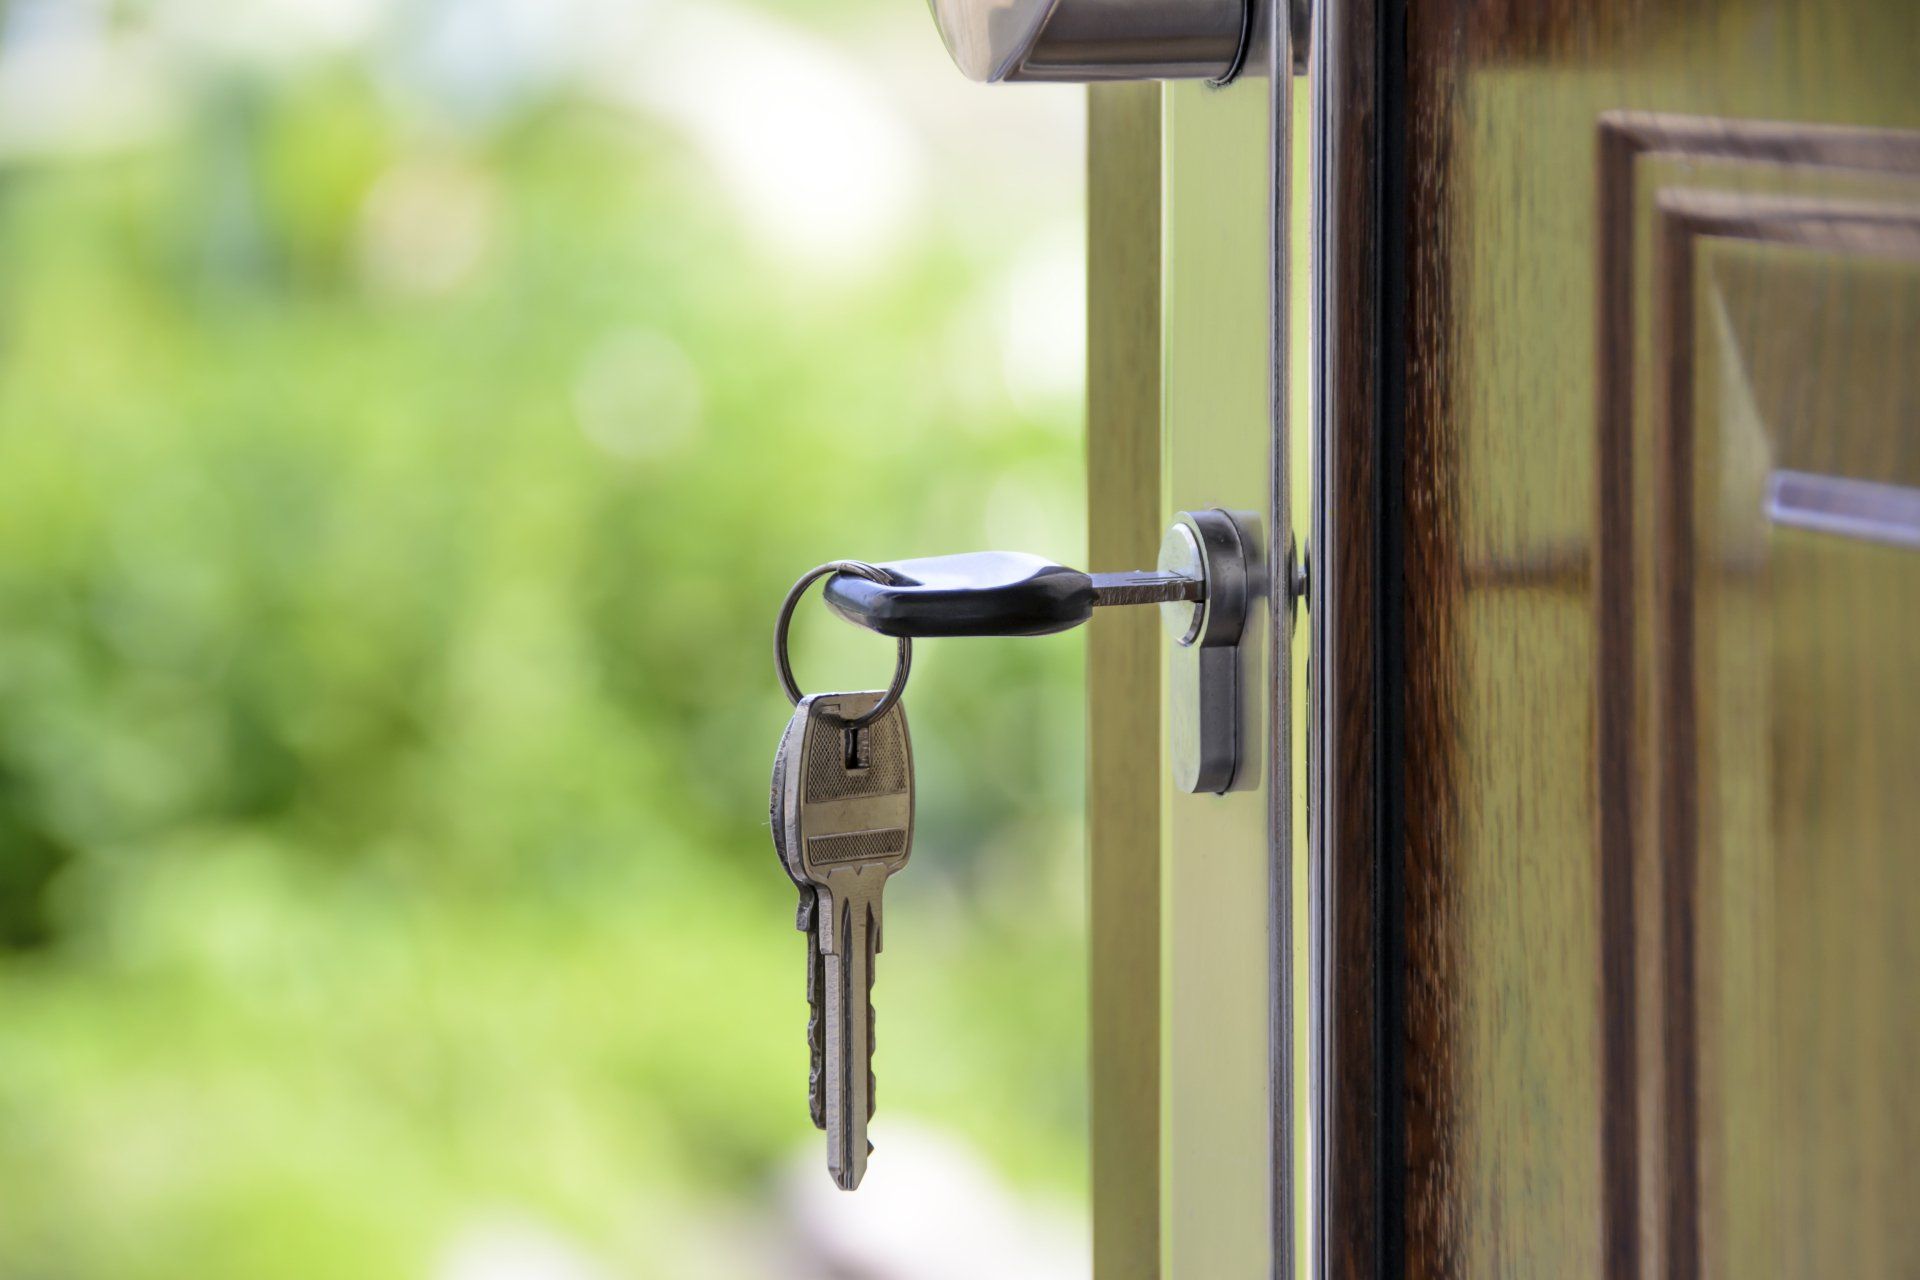
Locked Yourself Out or Lost Your Keys
- We do not provide lock out services. Please call a locksmith.
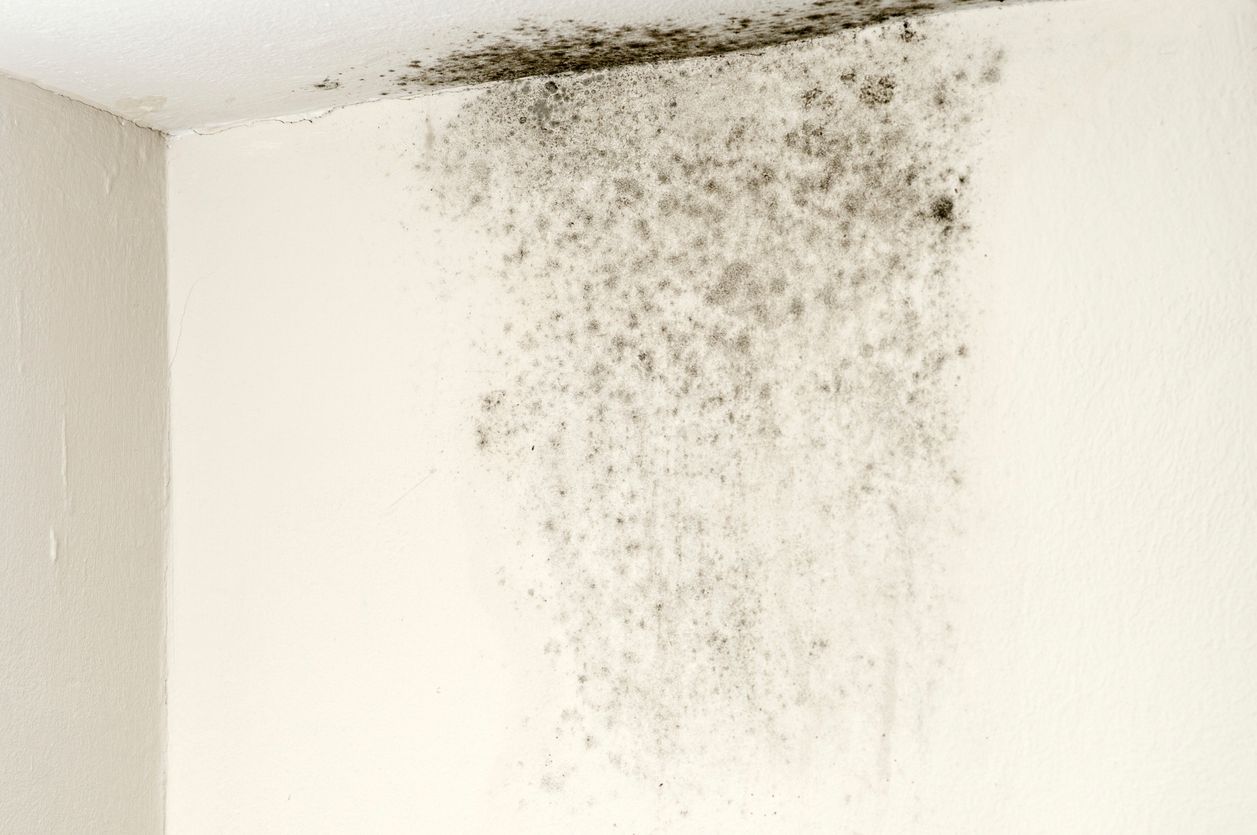
Mold / Microbial Growth
- Mold can grow most anywhere that spores land and find moisture and a comfortable temperature. Microbial growth is typically found indoors at levels that do not affect most healthy individuals. Almost every home gets some type of mold - the trick is to clean it up before it spreads. The most visible type is mildew, which begins as tiny black spots. This is the stuff you see in grout lines in your shower, on damp window casings, around HVAC vents.
- No moisture, no mold, run fans, hvac, dehumidifiers, open windows when dry outside to lower humidity. Get mold cleaner and Concrobium spray at big box stores to kill & prevent it from coming back. Submit work order.
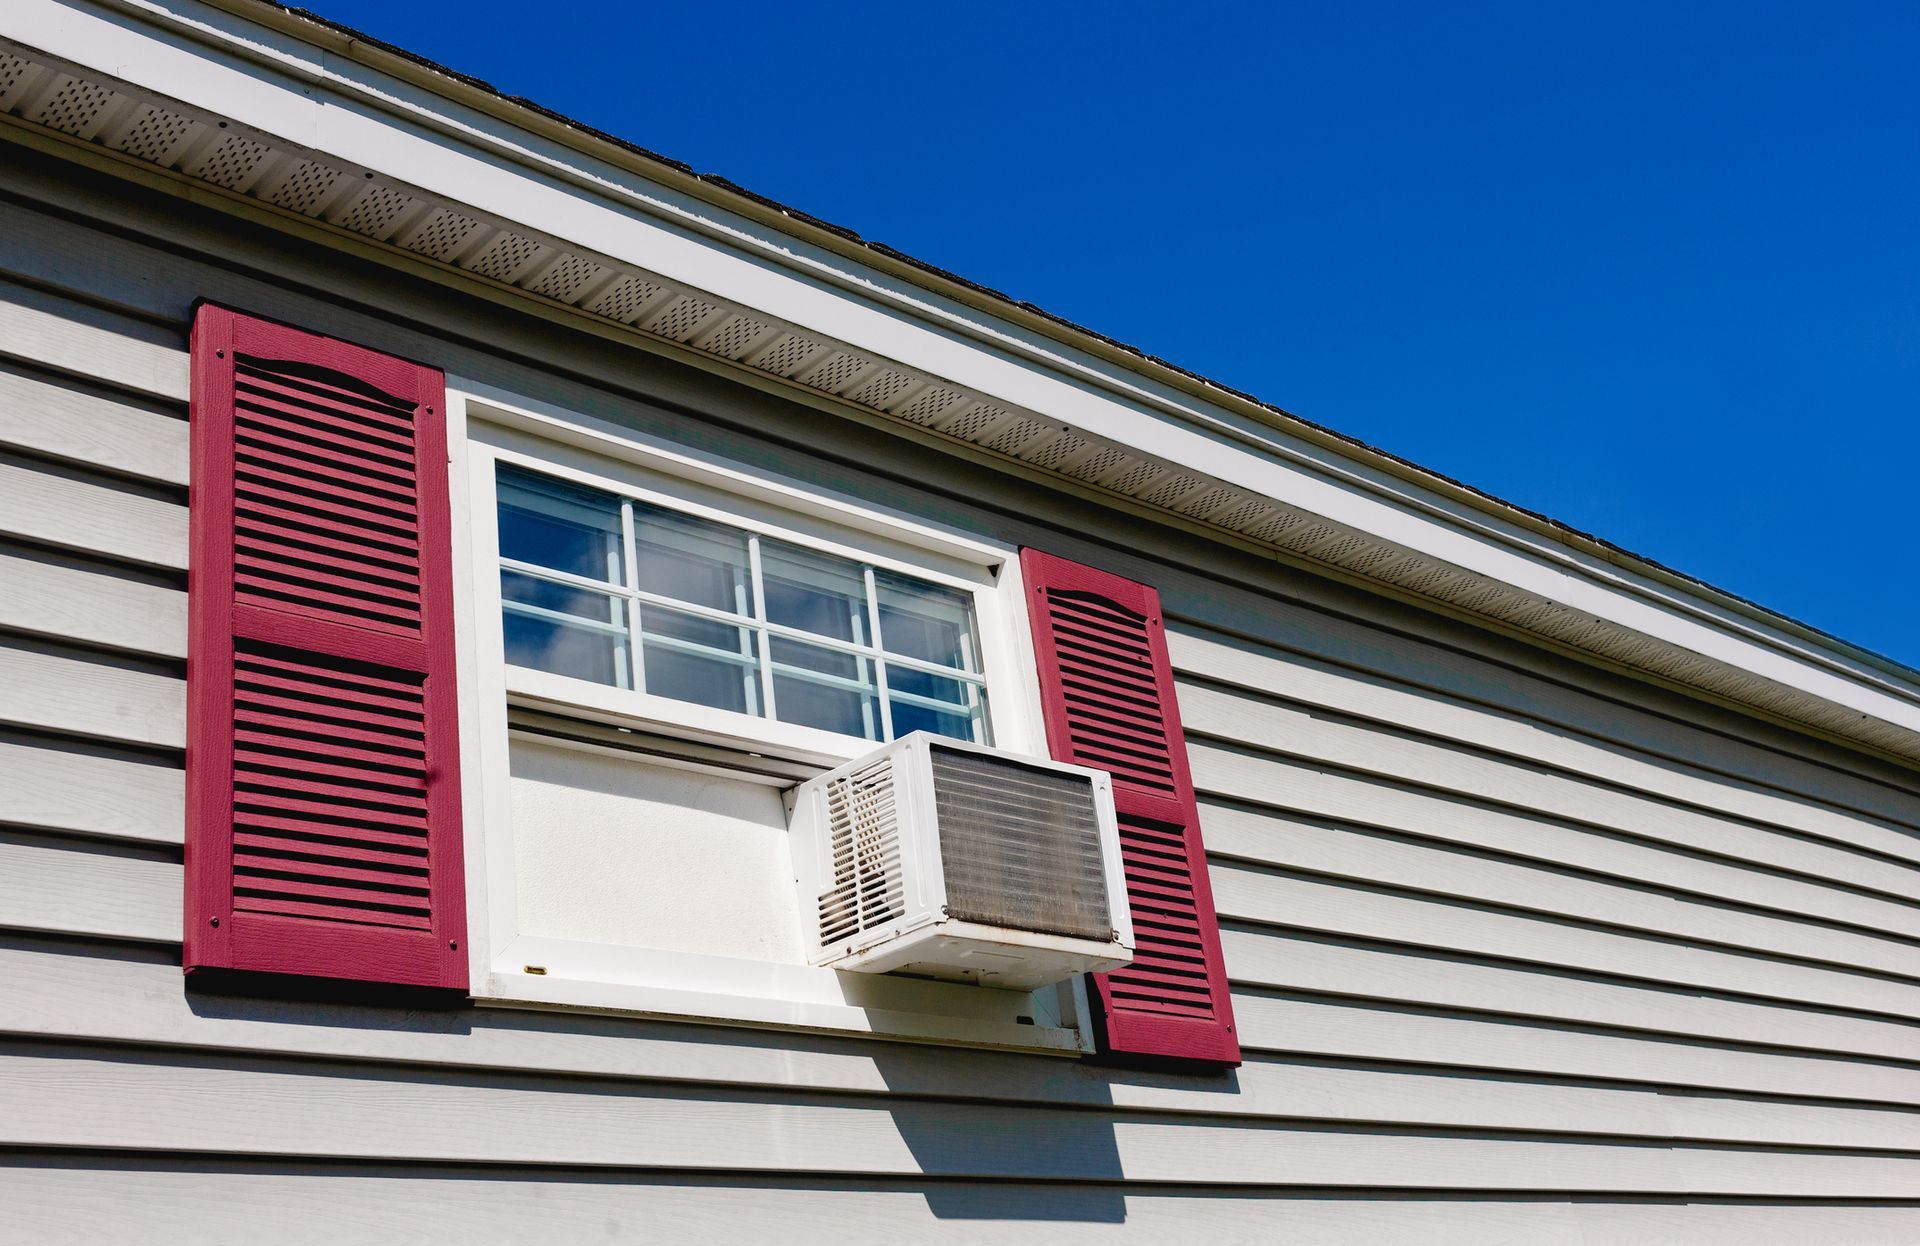
How to install Window A/C
How To Resolve Leaks From An LG Window Air Conditioner VIDEO
DIY Steps: “YOU ARE LIABLE IF THERE IS WATER DAMAGE TO WINDOW OR WALL!!!!!”
1. CLEAR YOUR WINDOW: Before you start work, it's best to get your window prepped for the
unit. 'Be sure to clear off the window seal of debris and remove exterior screens
2. INSTALL THE BRACKETS: Does a window AC unit need a bracket? Generally, yes. A
well-installed window AC unit may be fine without a bracket, but it's never a bad idea to take a
belt-and-braces approach, and in some areas, like West Virginia, for example, brackets are
required for all window AC units to safeguard the people on the streets below. While falling AC
units are a major TV trope to kill off characters, it almost never happens in real life you'll be
pleased to know. It can also help ease the strain on your windows, too. 'To make sure the unit
does cause damage to your window, you can install a bracket to alleviate some of the weight from
the sill.
3. LIFT THE UNIT INTO PLACE: When installing the air conditioning unit in the window, always
lift with your legs, as they can be heavy. Ensure that when the AC unit is in the window, the
bracket is on the outside of the window's bottom lip. The top bracket should be on the inside of
the window. Fit it into the bottom part of the window and then slide the top part of the window
down into the groove on the top of the unit. This will keep it in place. Make sure the window unit is
centered and leveled. Depending on the model, you may have to attach it to the window sash
with screws.
4. TO TILT, OR NOT TO TILT: A cursory Google might suggest that your window AC unit needs
to be tilted between 2-3° once fitted. But why? Making sure the window air conditioning unit is
slightly tilted backwards to allow for drainage. This ensures that the water that the unit collects is
released outside, rather than entering through the window and dripping down the wall. You can
add a piece of wood along the bottom of it if you want to tilt it back a bit so the water drains out.
Read the instructions to decide whether the AC needs to be tilted.If you have an older
second-hand model, you are probably safe to assume it does.
5. SEAL THE GAP: Next use the attached side sliders to close the gap on both sides of the AC
unit so that fills in all the open space to prevent outside air and bugs from creeping in. This
requires setting up the foam insulation strips and then expanding the panels to be screwed in.
DO I NEED TO LEAVE A WINDOW AC UNIT TO REST BEFORE USING IT?
If you've had the window AC unit stored on its side or upside down, you have to be careful when first
using it. Let a new or used AC unit sit for 24 hours before installing it. This allows the oil to settle in the compressor to avoid damage.
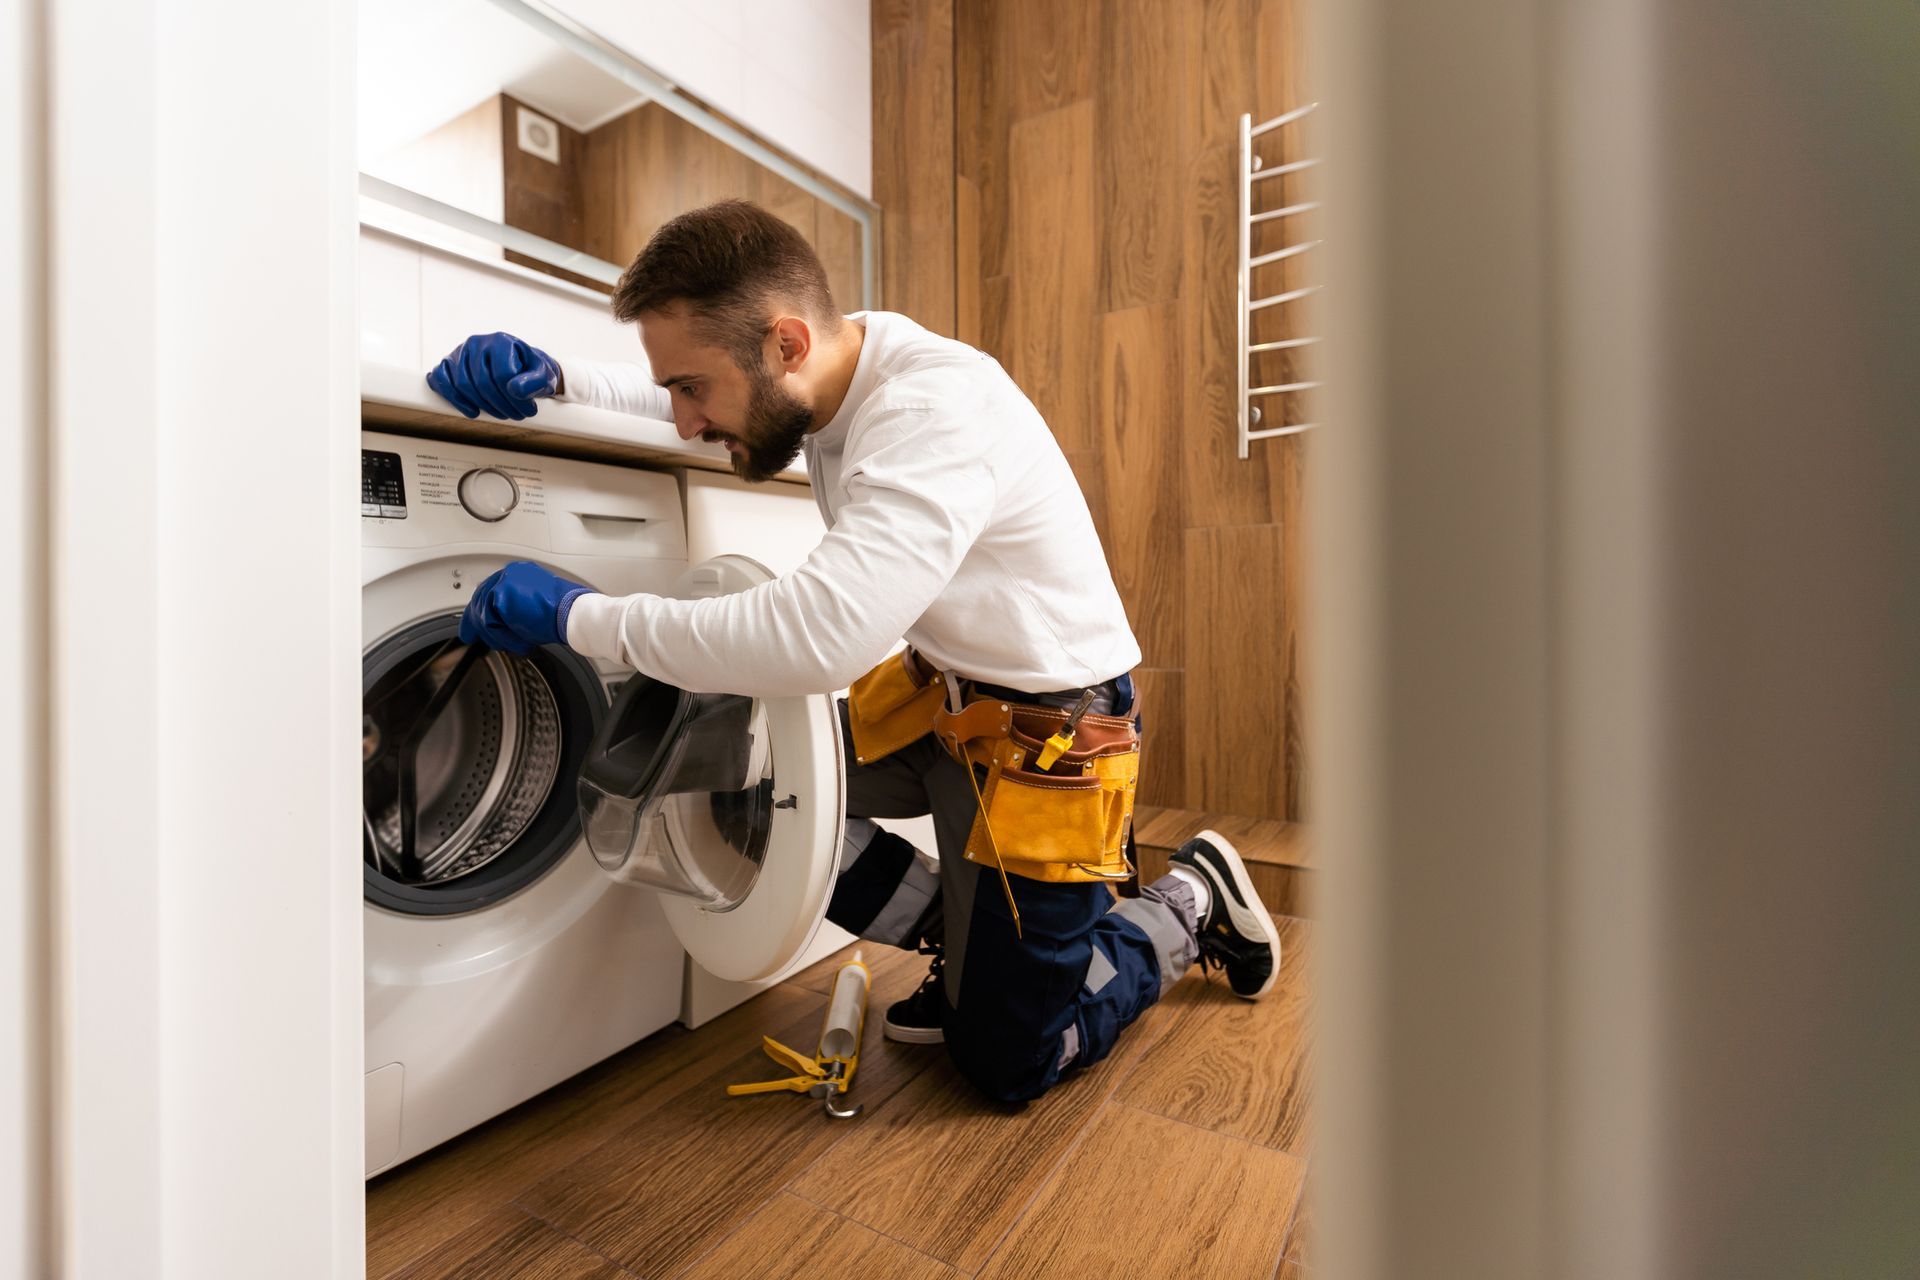
DIY: How to Install a Washing Machine Easily!
- Choose the right spot. Depending on your living situation, you may be limited in your options of places to put a washing machine. However, you should try to find a spot that will reduce the risk of uneven loads, leaks, and potential damage to your appliance or your home. It is also important to have access to hot and cold water, a drain and an electrical outlet that can support your washer and dryer. Make sure the room temperature will not fall below 32 degrees Fahrenheit (0 degrees Celsius).
- Measure the area to ensure a proper fit. Washing machines come in a number of shapes and sizes, so you may need to measure yours to ensure it will fit properly in the space you intend to put it. You should also measure the doorways it will need to pass through in order to reach its final destination. Remember that you will need to measure the width as well as the depth of both the washing machine and the space you will put it in to ensure a proper fit.
- Adjust the leveling feet. Leveling feet are the little legs underneath the appliance itself. These are adjustable and should be calibrated so that your washing machine will be as level as possible. Turning leveling feet clockwise will lower that corner of the washer and turning them counter clockwise will raise it. A nut around each leg prevents them from turning once you have set the proper height for each corner.
- Connect the water supply hose. The water supply hose is what feeds water into your washing machine when you do laundry. If you have pipes that run to your washing machine's location you can simply attach the hoses here. Make sure to tighten your water connections snugly to prevent leaks from developing, but do not overtighten. You can usually make these connections tight enough using only your hands. Turn the water valve on. Check for leaks around the connectors.
- Set up the drain hose. The drain hose needs to be installed correctly to prevent leaks. Make sure the pipe is secured down or it may loosen over time, causing flooding. Some hoses come with a clip to hold it in place.
- Try a test run. Once your washer is hooked up, you should be ready to do a load of laundry. However, instead of loading your laundry, it's best to run a rinse cycle and closely monitor your washer to ensure that there are no leaks. If you see any signs of leaking, tighten all the connections around that leak, taking care not to overtighten.If the washer won't stop leaking, turn off washer and turn water supply off and call a professional plumber to inspect your pipes and connections.
Tenant Responsibilities For Household Items / Maintenance
Below is a list of items that the Tenant is responsible for maintaining with their rental property
- Replacing smoke alarm batteries.
- Replacing light bulbs with the correct size, shape and wattage.
- Replacing HVAC filters regularly (frequency depends on filter used, but monthly is recommended). Damages to the HVAC system caused by lack of filter upkeep falls on the tenant for payment of repairs.
- Reporting non-functioning smoke alarms immediately if batteries do not solve the problem.
- Reporting all necessary repairs.
- Professional steam cleaning and spot cleaning of carpets while residing in the property.
- Keeping the home clean and maintained to the conditions it was provided to you.
- Landscape cleanup if service is not provided.
- Reporting lack of landscape cleanup if a service IS provided in your rental agreement.
- Disposal of all garbage in the proper receptacles and using the regular pick up service or drop off locations.
- Removal or treatment of common household bugs (ants, spiders, roaches, etc.).
- Trapping and removing an individual rodent (if you have an infestation we will hire a professional).
- Disposal of animal feces on the property even if you do not have a pet/animal.
- Disposing of toxic waste or kitchen waste properly in accordance with local and county laws. Do NOT pour kitchen grease down the sink drains.
- Do NOT flush anything down the toilet other than toilet paper (no wipes, feminine products, medicines, kitty litter, etc. – toilet paper only).
- You are responsible for keeping all sinks, lavatories and toilet lines open. Do not allow anyone to throw anything into the plumbing system or use it for any purpose other than for what is designed. You will be responsible for any damage or stoppage unless it was caused by mechanical failure of the plumbing system. If your system becomes clogged during your tenancy, you are responsible for having it cleared or repairing the toilet at your own expense. We can initiate a service call if you wish, but you would be responsible for payment.
- Proper preventative care if there is a septic tank on the property. You will receive an addendum with your lease with further instructions if this is the case.
- Washer/Dryer Hookups – If you bring your own washer and dryer, check your hoses and washers to eliminate leaks. You must also keep dryer vents clear of lint or other build up, as this can cause a fire in the venting. We will not send our Maintenance Men out to fix your personal washer and dryer. You will need to hire someone to do that.
- If you install a window AC it must tilt out so condensation does not damage the building. See youtube videos on how to instal window AC
- Anything else specified in your lease for example, commercial rentals responsible for more repairs than residential. See Lease.
Apex Home and Business Rentals
